Animation
Loading
居中的 loading 动画,本质是将 12 张独立的图片,拼到一起,步进动画,共 12 步。
(下面有一张图,loading.png,右键 -> Open Image In New Tab 进行查看)
.loader {
    position: absolute;
    z-index: 10002;
    height: 100%;
    width: 100%;
    display: flex;
    justify-content: center;
    align-items: center;
    background-color: rgba(0, 0, 0, 0.5);
    .loader-img {
        width: 40px;
        height: 40px;
        background: url(/img/loading.png) 0 0 no-repeat;
        animation: loader 1s infinite steps(12);
        overflow: hidden;
    }
}

@keyframes loader {
    to {
        background-position: -480px 0;
    }
}
Performance
Triggers (css triggers)
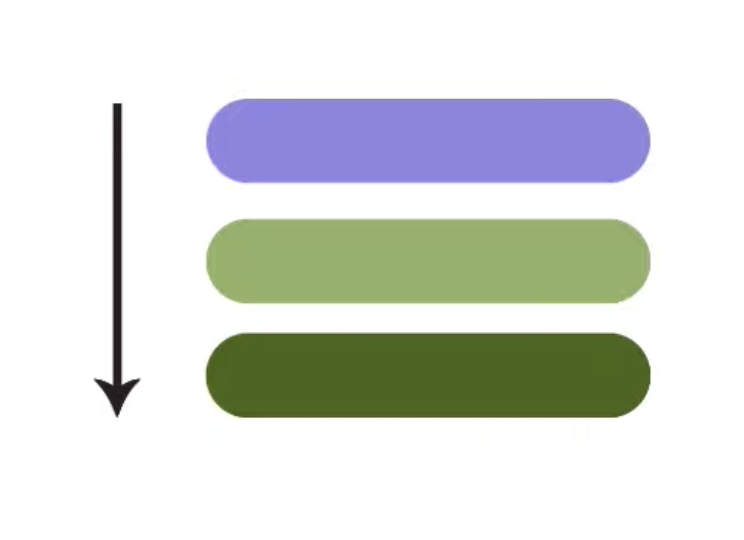
高层更加 taxing,每次触发高层,都会触发下层。
- Layout
- CSS properties that affect other elements will affect the layout.
- width, margin, padding, border ...
- Paint
- the process of filling in pixels
- Composite
- Correctly orders parts of the page onto the screen
- Opacity, Transform

will-change
提前告知浏览器,该 css 属性可能会改变,以让浏览器提前优化。可以用 JS 来增加、删除 will-change 属性
Best Practices
- 如果有可能,尽量使用仅触发
composite的 css 属性 - 避免在拥有许多 DOM 节点的页面进行动画,或过度动画
- 避免同时对多个属性进行动画
- 对于后续会展示的元素,使用
opacity: 0 - 适当使用
will-change - 避免滚动时触发动画;与此相反,应当等待页面到达某一个特定点时,触发动画。
优化工具
Chrome devtools 提供了工具供我们进行性能优化,此处以margin 和 transform 两个属性为例,记录一次优化过程。
页面答题结构为三个 div 往复运动,一个 button 替换动画类。核心代码如下,完整代码见 参考代码
<button>Make it Smooth</button>

<div class="container">
    <div class="card">
        <h1>ani 1</h1>
    </div>
    <div class="card">
        <h1>ani 2</h1>
    </div>
    <div class="card">
        <h1>ani 3</h1>
    </div>
</div>

<script>
    const btn = document.querySelector('button');
    btn.addEventListener('click', () => {
        document
            .querySelectorAll('.card')
            .forEach(card => card.classList.add('newAnim'));
    });
</script>
.card {
    background: white;
    margin: 60px 0;
    padding: 60px;
    border-top: 5px solid rgb(0, 110, 255);
    animation: anim 1s infinite alternate;
}

.newAnim {
    animation: anim2 1s infinite alternate;
}

@keyframes anim {
    from {
        margin-left: 0;
    }
    to {
        margin-left: 300px;
    }
}

@keyframes anim2 {
    from {
        transform: translateX(0);
    }
    to {
        transform: translateX(300px);
    }
}
具体步骤如下:
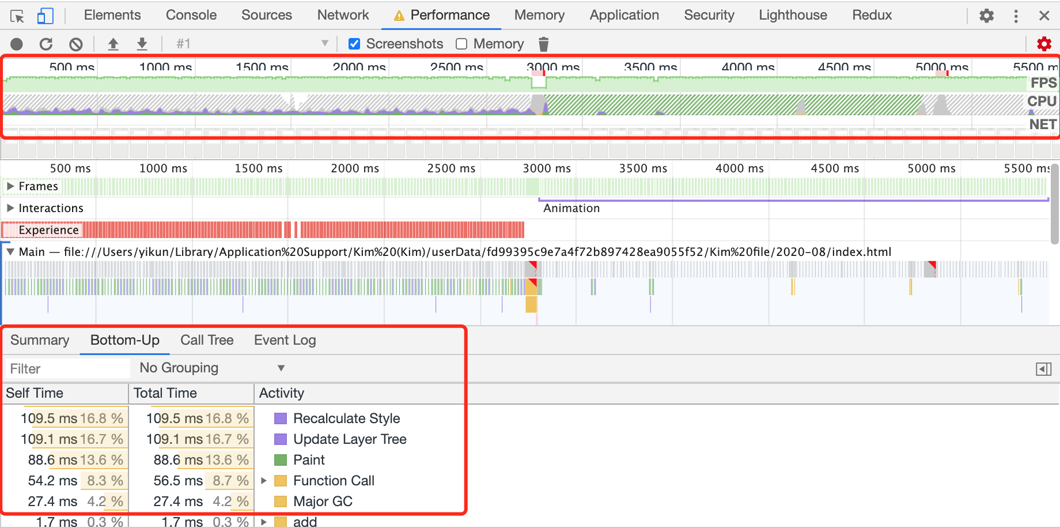
Performance 面板
-
此处可以对页面进行记录,首先打开 cpu throttle

-
在 Performance 面板记录性能,下图可见点击按钮前后对比
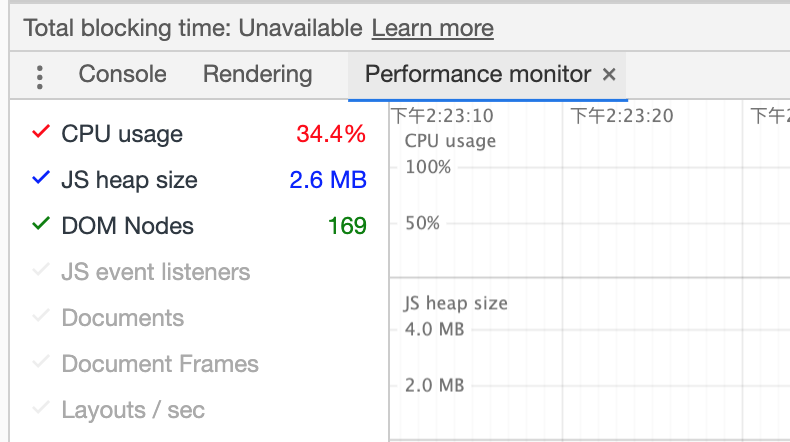
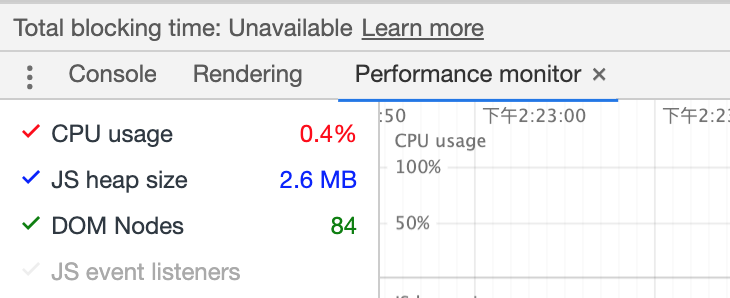
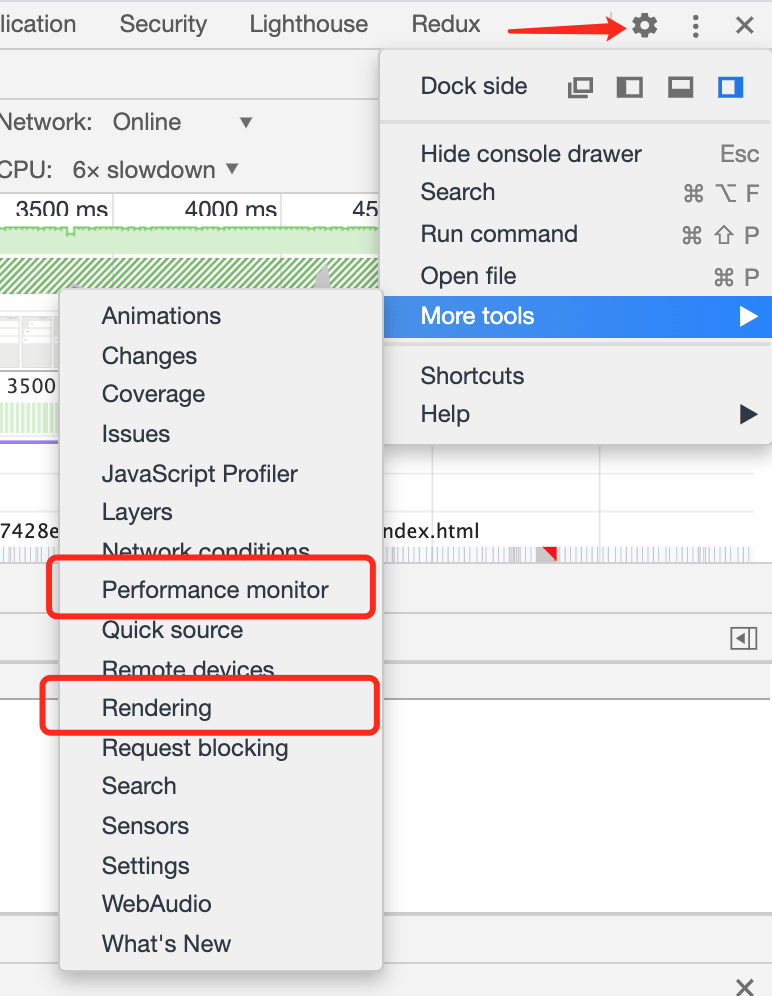
开启 Performance Monitor 与 Rendering
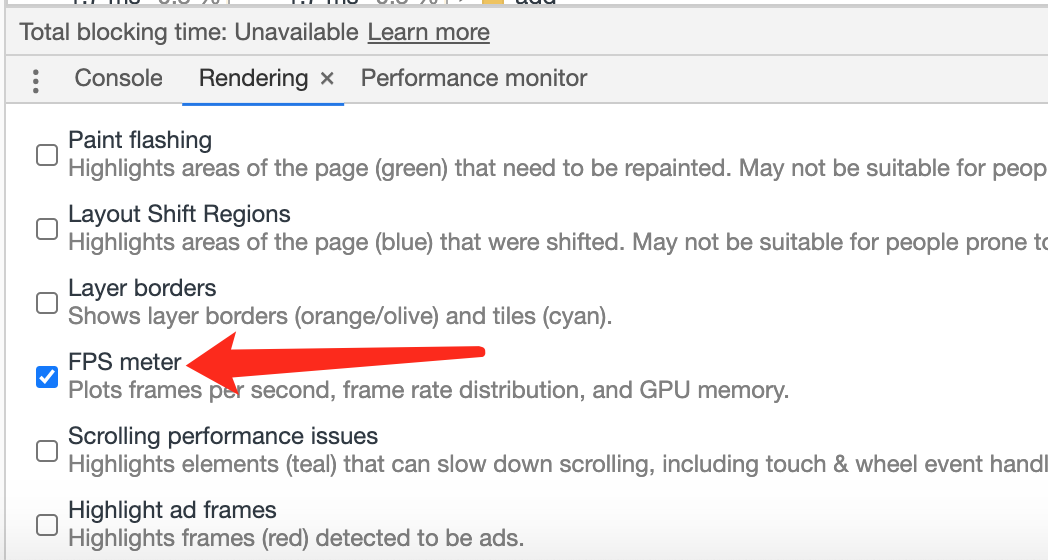
Rendering 面板打开 fps meter
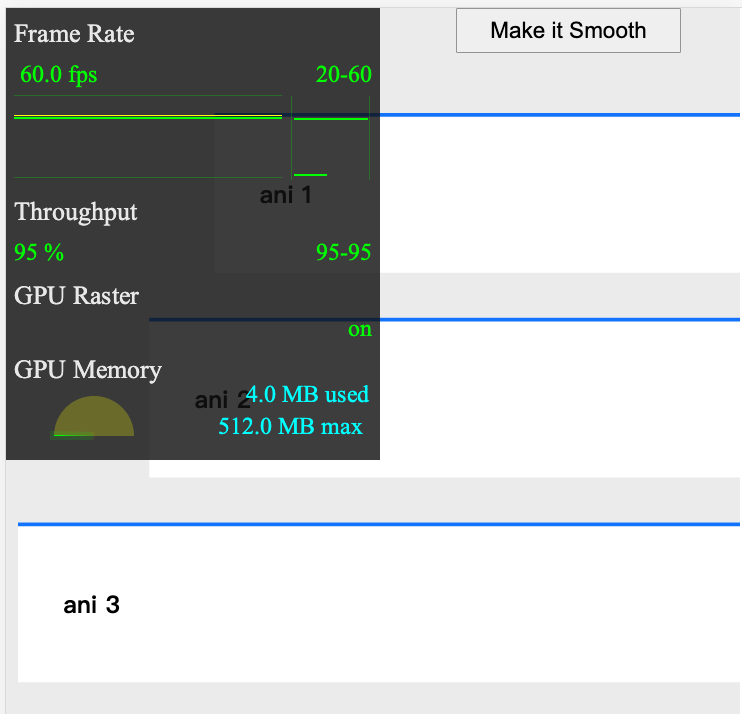
- 以下为点击按钮前后对比
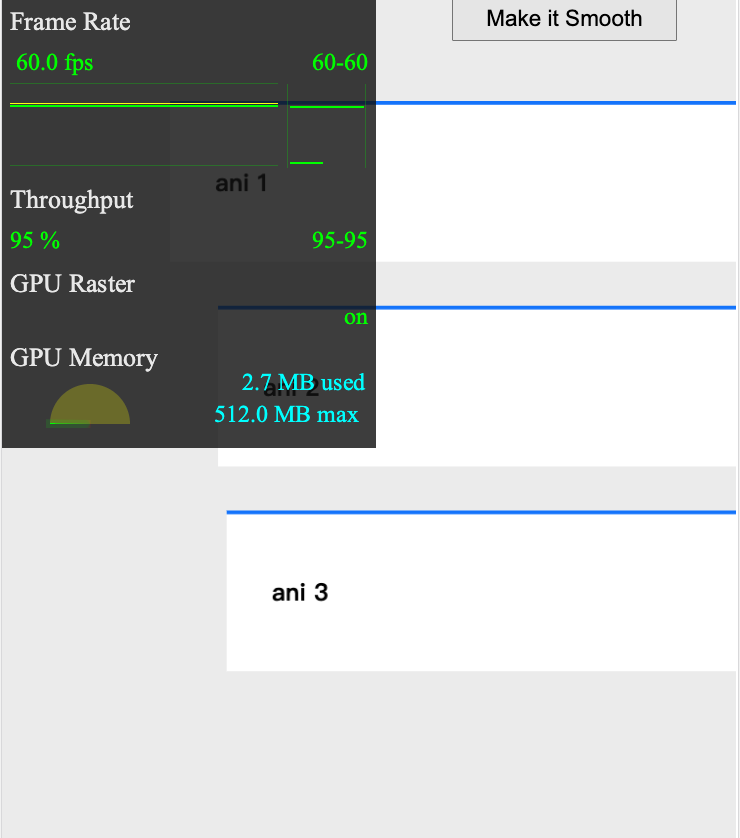
Performance Monitor 前后对比
